Last week we were marbling with shaving foam at the Dundee International Women’s Centre so we thought we’d post some instructions so you can try it at home. This one is very easy and lots of fun – and surprisingly easy to clean up as the foam just washes away. There are lots of steps where little ones can help depending on how old they are. If they are too little to be allowed to squirt the foam then they can still help drip the paint and definitely help to stir it about and rub over the paper. It’s a nice surprise at the end when the final marbling is revealed and this is a nice thing to share together.
If you’d like to watch video instructions you can find our youtube video here https://www.youtube.com/watch?v=AeTR5apHayI
You need:
a baking tray
an old plastic credit card/store card
shaving foam (not gel)
water based paints
Thick, absorbent paper (thin paper will rip when you scrape off the foam)
chop stick
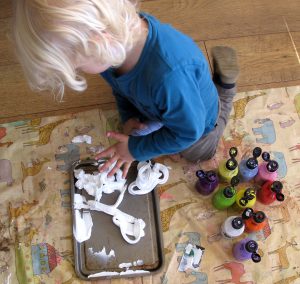
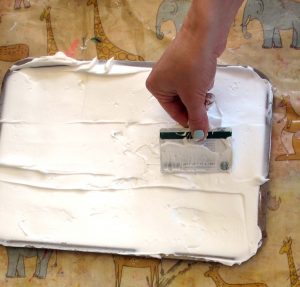
First squeeze the shaving foam into a shallow tray like a baking tray or the lid of a biscuit tin. Then use the credit card to spread it out nice and smooth (big people probably need to do that bit)
Now help them to drip some water based paint all over the top of the foam. You can also do this using food colouring but it’s quite stainy so I prefer to stick to washable paint. That way little ones can do it too.
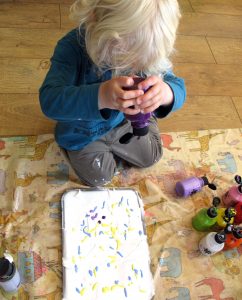
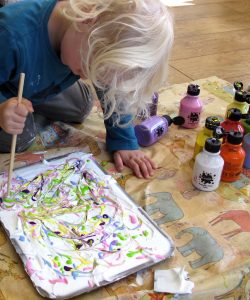
Then the best bit. Give little ones a chop stick or old pencil and let them swirl around in the paint until it makes a nice pattern but before the colours all blend together (don’t do too much or it all goes a bit brown!). They can experiment with the effects of making circles or going up and down in lines.
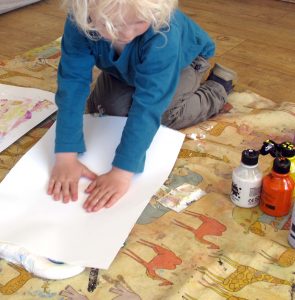
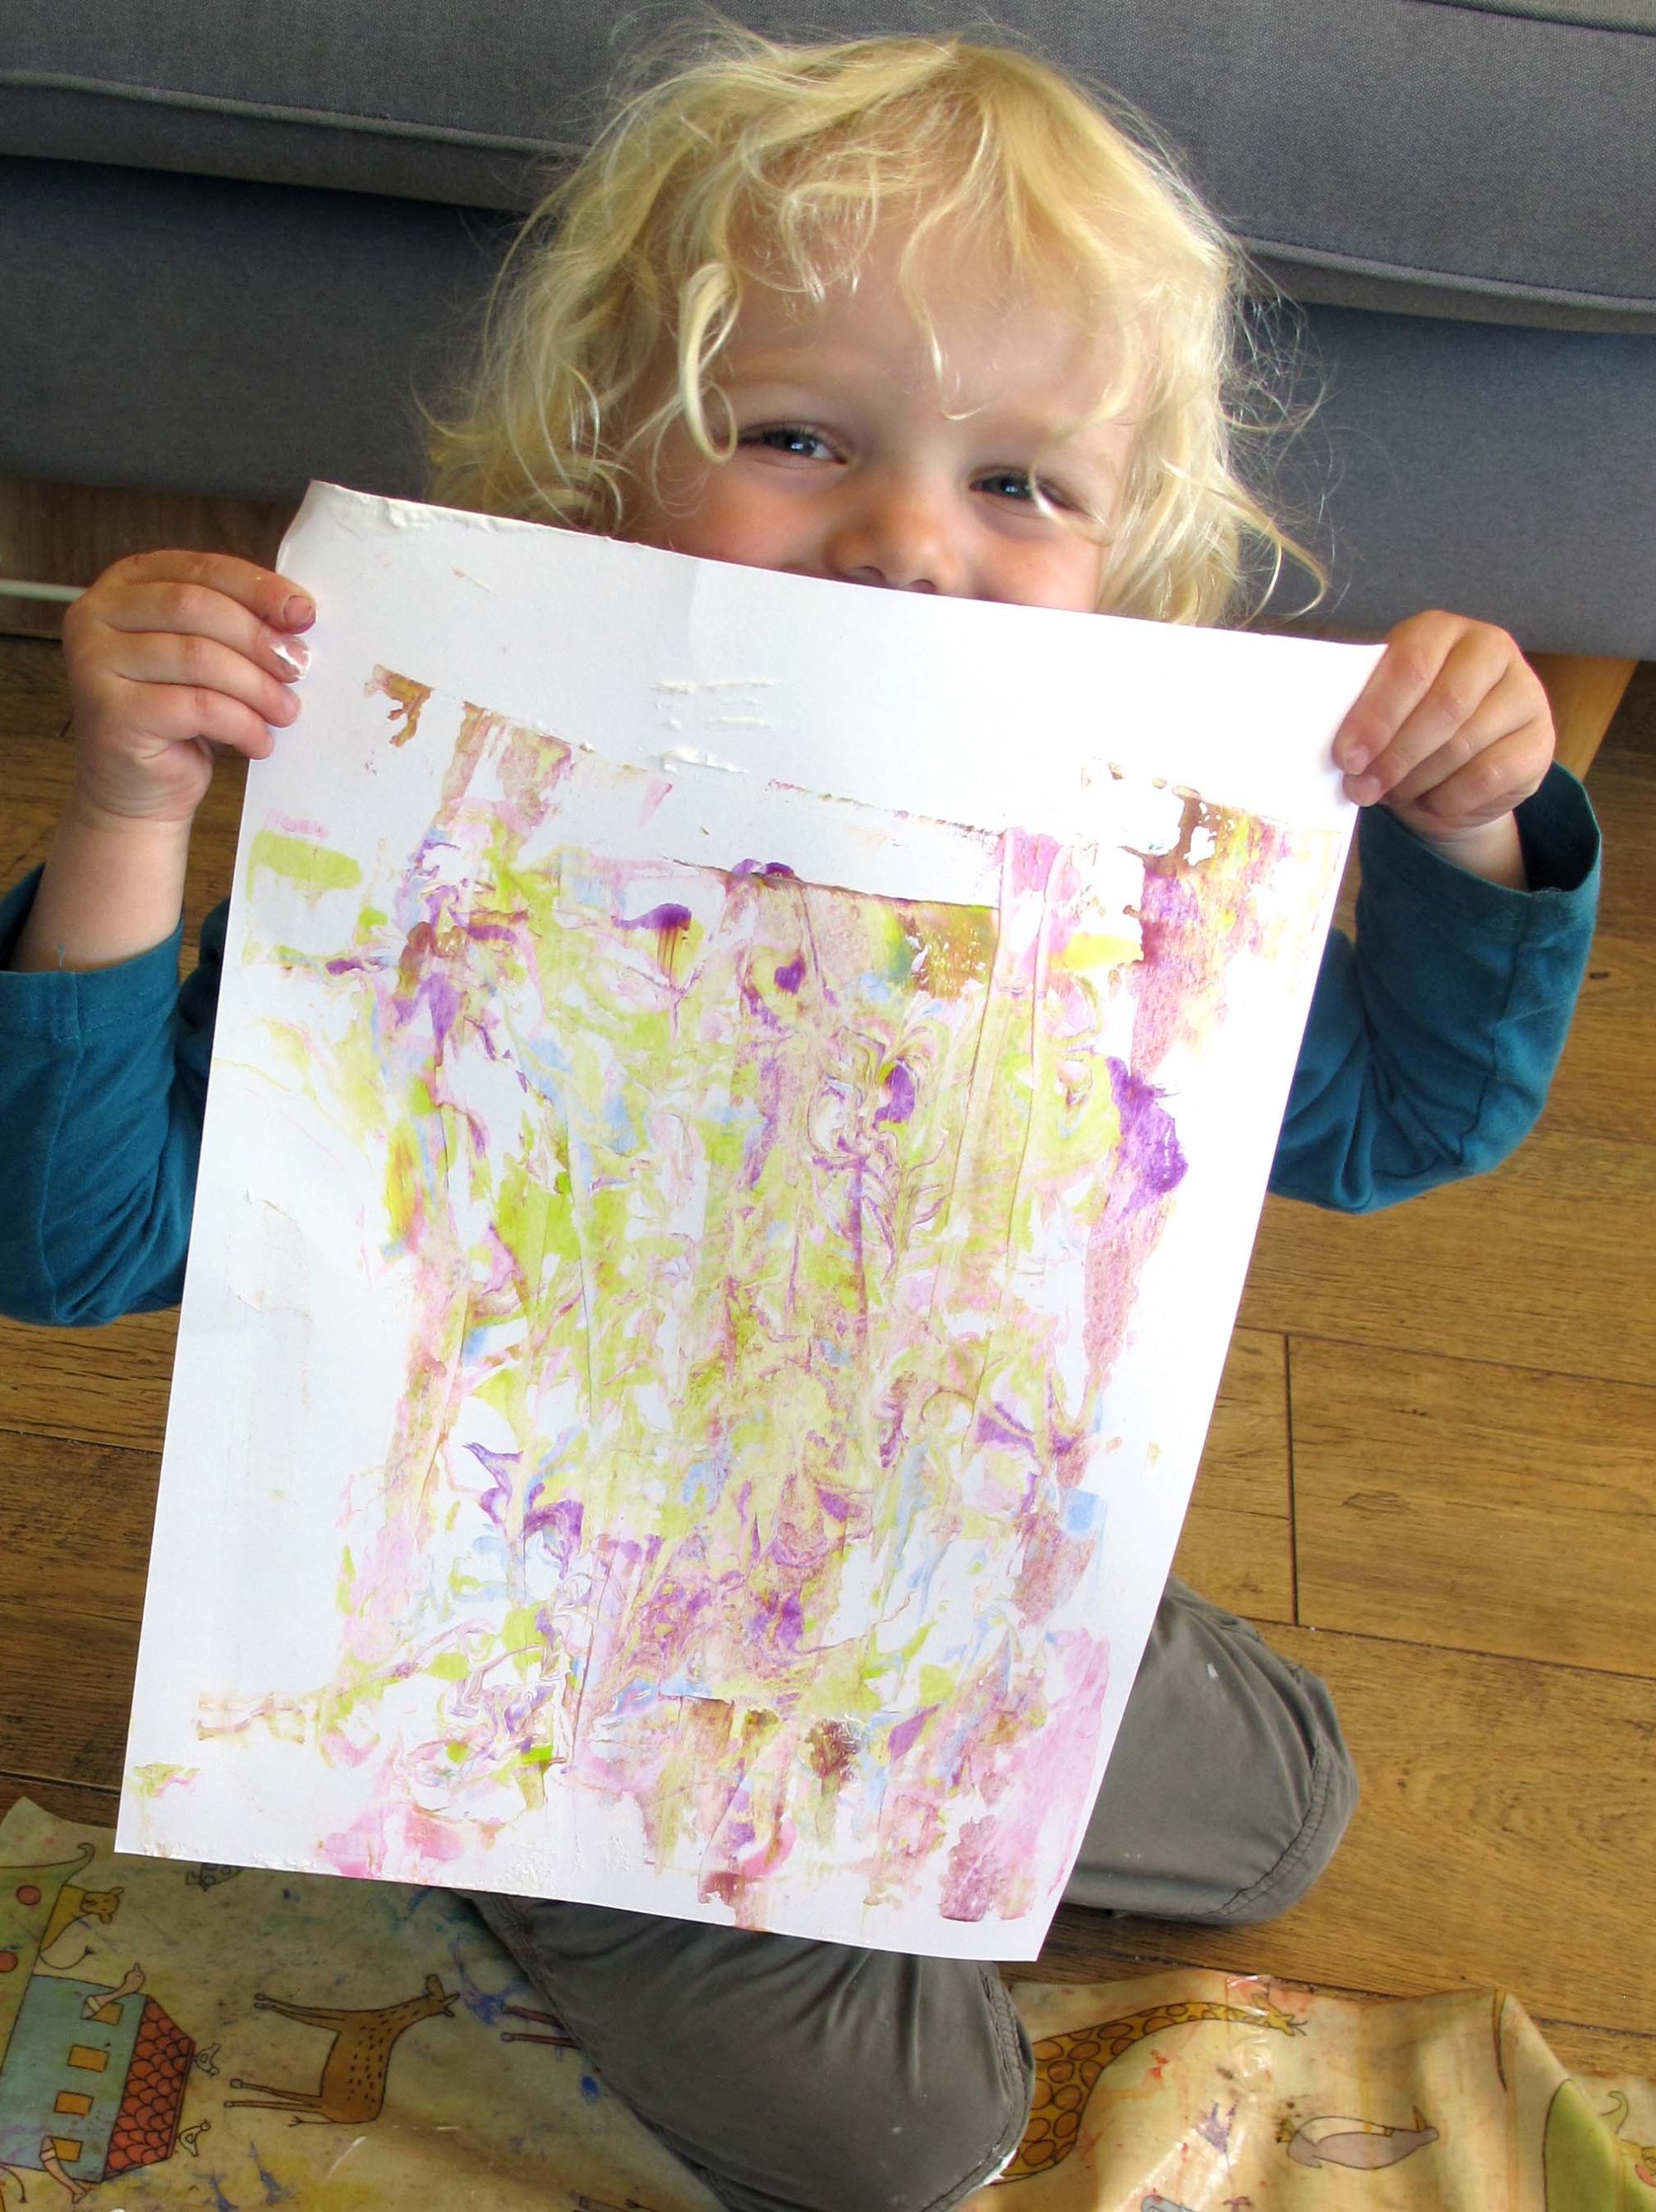
Now press a sheet of paper on top of the foam and they can help you rub all over the top to make sure it absorbs. Then peel back to reveal…..
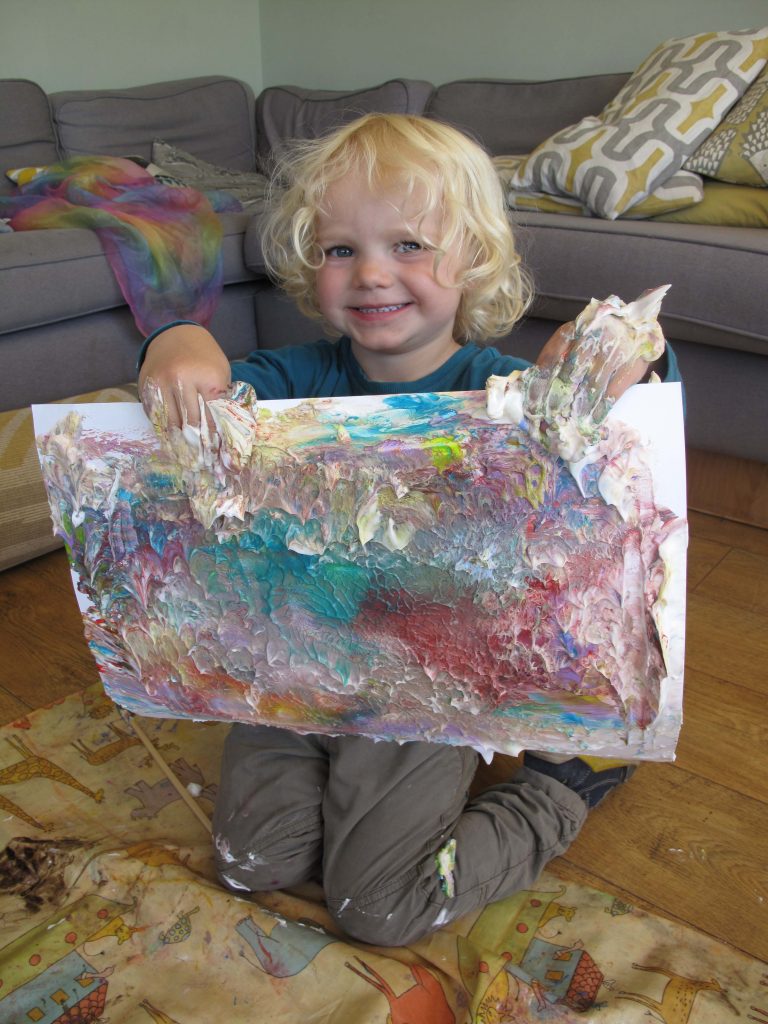
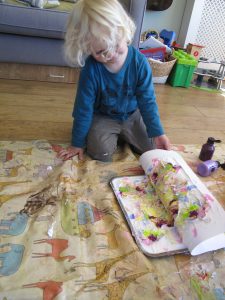
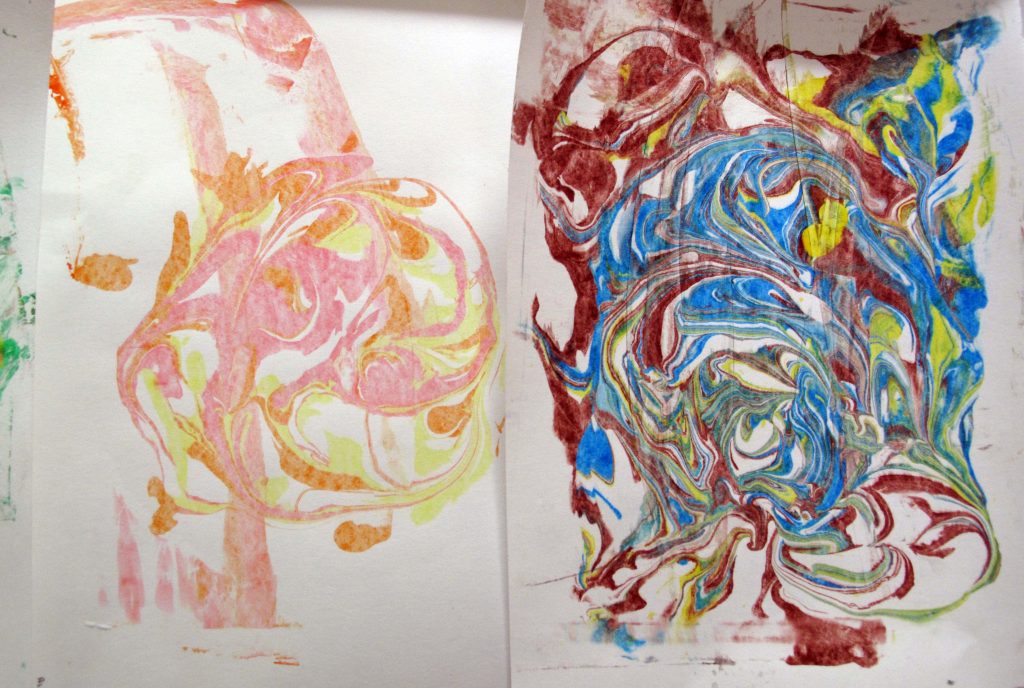
…a foamy mess!!! But don’t worry. Scrape off the foam using the credit card and underneath will be a beautiful swirling marble pattern – just like you’d find in the front on a fancy old book. You can let this dry and then use it to cut up and make cards, cover jotters, line drawers etc etc. Or just stick it on the wall and marvel at how cool it is! And the left over foam needn’t go to waste. Slap it all back into the tray, spread it out and start again. You can get at least 3 or 4 prints from each lot of foam before it gets too murky.
This activity is nice because it combines some sensory play using the foam with some creative play with the paint. It’s also nice that it needs some help from a big person so there are lots of opportunities for turn taking and working together. If you have left over foam you can also do as my little one does and turn your trucks into snow ploughs!
