We are continuing our ideas for art supplies around the house with some home-made paints. These are good if you are stuck at home as you might have some of the ingredients already but they are great at any time with little ones because they are safe to taste, being made with ingredients from your kitchen.
Fruit and veg paints
These paints use the colours of fruit and vegetables to create thin paints that can be used like ink or watercolours.
You need:
- Fresh or frozen fruits and vegetables with strong colours. We used strawberries and redcurrants, blueberries and spinach. You could try carrots for orange, blackcurrants for purple, or spices like turmeric for yellow and paprika for orange.
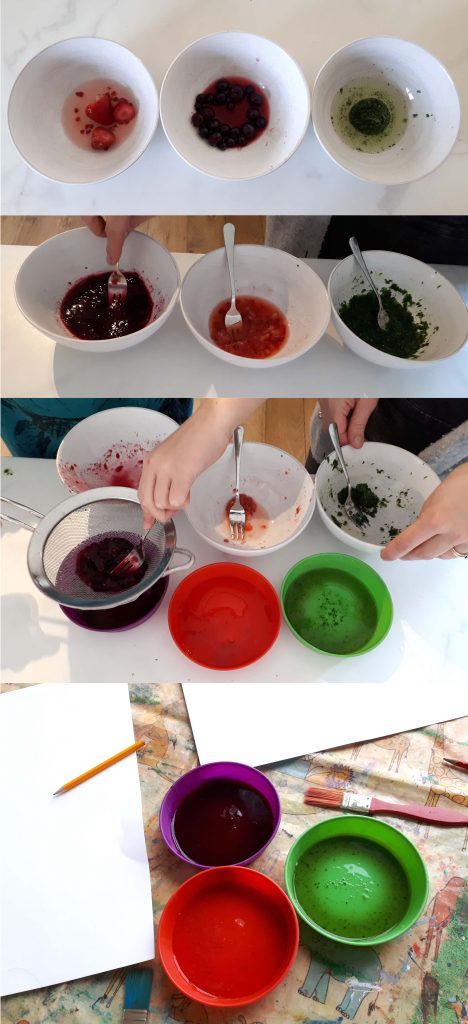
If the fruits and veggies are fresh cook them down in a little water to release the juices. If they are frozen just pour a little boiling water over them in a bowl to defrost them. Once cooked or defrosted mash them down using a fork. Toddlers and pre-schoolers might like to help with this step. If you were fancy you could do this step in a blender or a nutri-bullet but a fork is fine.
Then push them through a sieve into a paint pot or jam jar to get the paint.
We only make a little handful of fruit at a time so we don’t waste any but it keeps a few days in the fridge.
If you are using spices pour on boiling water and leave them for the colour to come out.
And a warning – if you have ever had a baby dribble blueberries down their clothes you will know that natural paint colours can still definitely stain clothing so wear old clothes or strip down to a nappy and cover your floor or table with newspaper or a cloth.
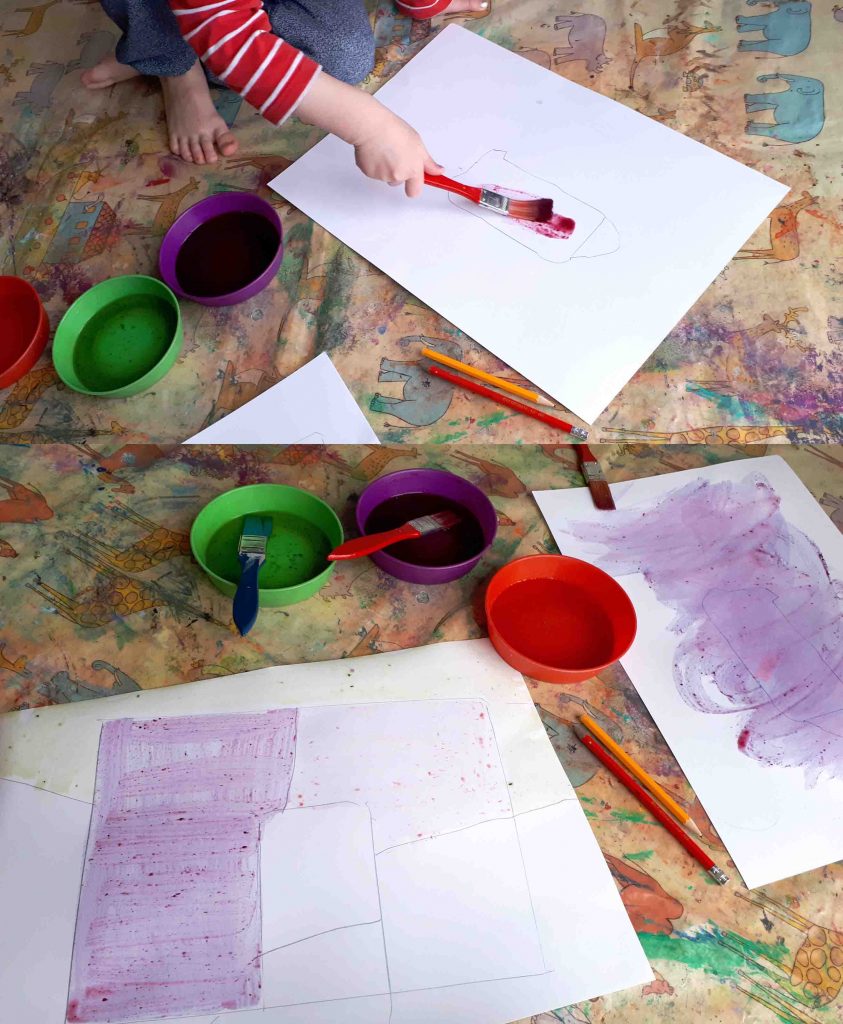
Here are our attempts at using the paints. They are quite runny so better for toddlers than tiny babies. They have quite a nice watercolour effect and make pastel shades. Blueberries were our most successful with the darkest colour and it was fun because it changed colour from pinkish to blueish after a minute in the air. Slightly magical paint!
Flour paint
This paint has a nice thick texture so it’s perfect for finger painting with little ones or using with stampers as we do here.
You need:
- 1 cup of flour or cornflour, or a mixture (we used half and half, the more cornflour the more jelly like the paints are)
- 3 cups cold water
- Food colouring (this can be whatever you have, we used a mixture of liquid colours and pastes)
- Teaspoon of salt (this is meant to help the water absorb but it works fine without if you don’t want to risk small babies eating the salt)
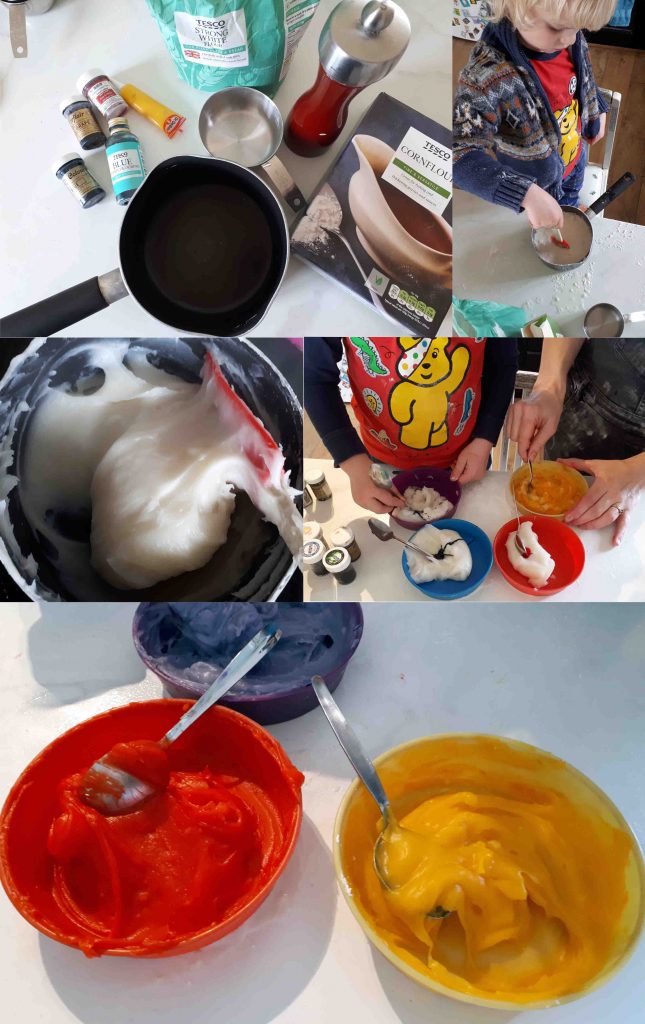
Mix the cup of flour with the 2 cups of the water in a pan and then slowly heat it on the hob stirring the whole time. It starts very runny and milky, then it will go a bit lumpy so don’t panic, it will gradually come together and start to be thick, smooth and a bit gelatinous. The flour needs to be thoroughly cooked to kill any bacteria if little ones are putting it in their mouths.
You could also heat treat your flour first by putting it into a microwave safe bowl, heating on high in the microwave in 30 second intervals, stirring in between. Then after 1-2 minutes, using a thermometer to ensure flour has reach 165F.
Once cooked through and thick, take it off the heat and stir in the 3rd cup of cold water, more if you want runnier paint. Thick paint is better for babies though as they have more control over it.
Divide it between bowls, jars or paint pots then stir in a drop of food colouring into each. This part is likely to stain so be careful with wee ones. Once the paint was mixed it did not seem to stain our hands, although I would be careful on clothes.
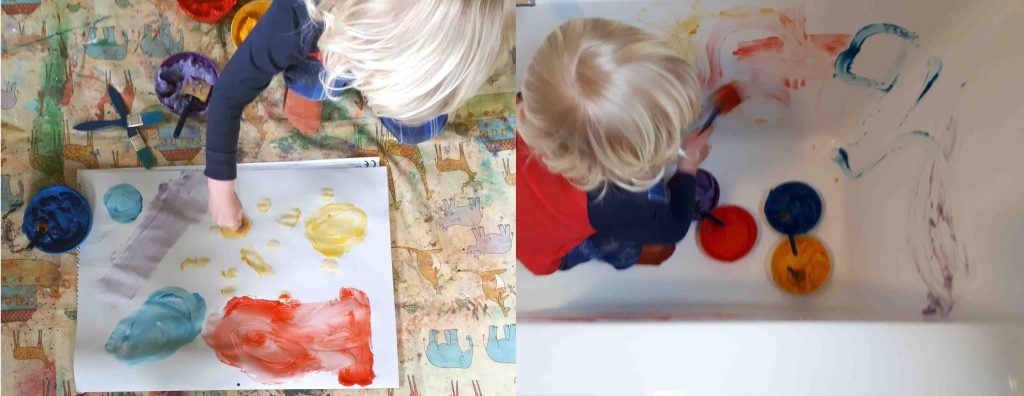
For babies put a few blobs of colour onto paper and let them explore it on the floor, either lying on tummies or sitting up. For bigger ones they can try using stamps or brushes or finger painting. We took this paint to the bath tub and it was great for decorating the side of the bath and then washing off really easily.
These keep for several days in the fridge, longer if you added the salt.
Yogurt or pudding paint
If you want it to be even easier with little ones and don’t mind it being temporary try mixing a little food colouring into a babies usual yogurt, pudding or baby rice. You can then let them use this to explore and decorate onto paper, or onto a surface like their high chair tray table or a baking tray, or onto the bath like us.
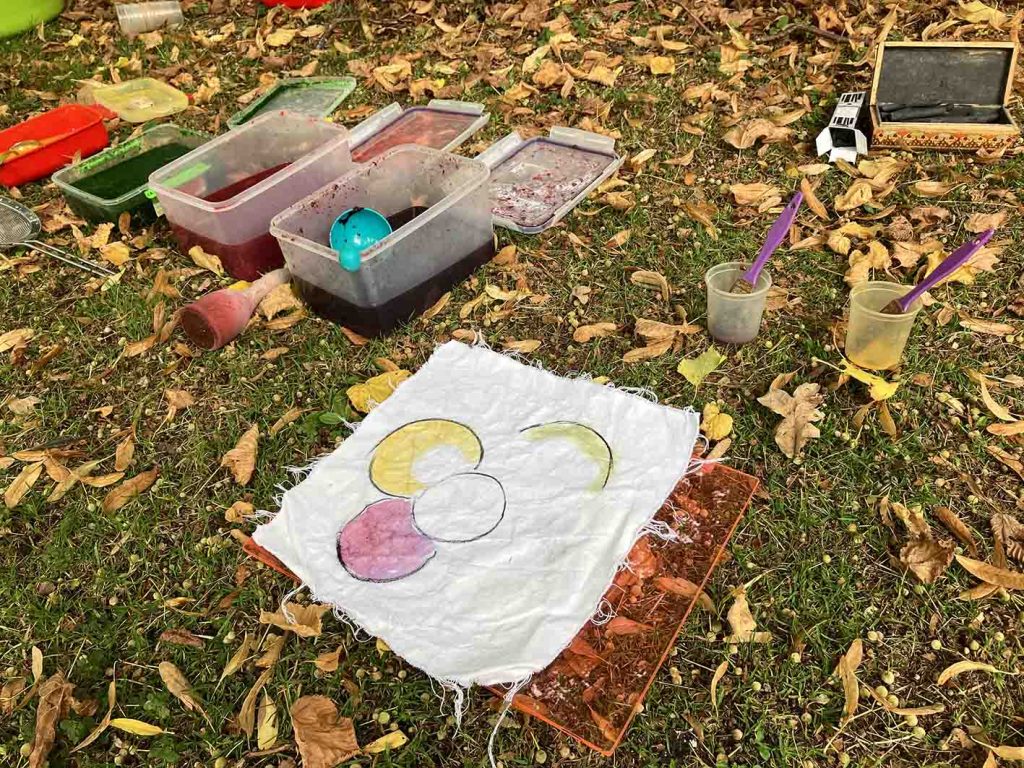
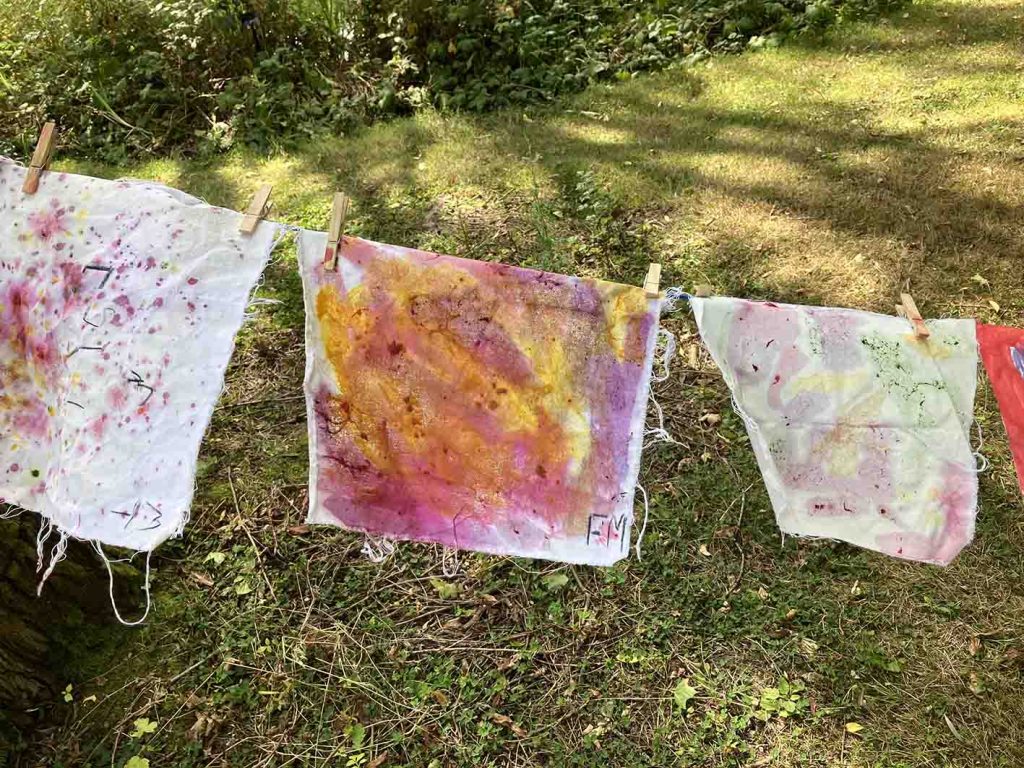
We tried the vegetable paints outside at a session in the botanic gardens, combined with charcoal to use all natural materials. They worked really well painting onto canvas fabric. The colours were really bright, especially from the turmeric and blueberries.

Pingback:Butterfly prints (or fish or dragons!) | Art at the Start
Pingback:A giant family painting | Art at the Start
Pingback:First Painting | Art at the Start